It’s time to start valuing your privacy and securing access to your data from unwanted people and companies. As technology has advanced, our iPhones have started storing more and more sensitive data. In this article, we will discuss a few issues related to VPN. If you would like to find out what a VPN is, how it works and how to get it working on your iPhone, be sure to read this article. You will also learn why you should use a VPN and when it is best to use one.
You can use the links below to jump to the desired section of the article more quickly:
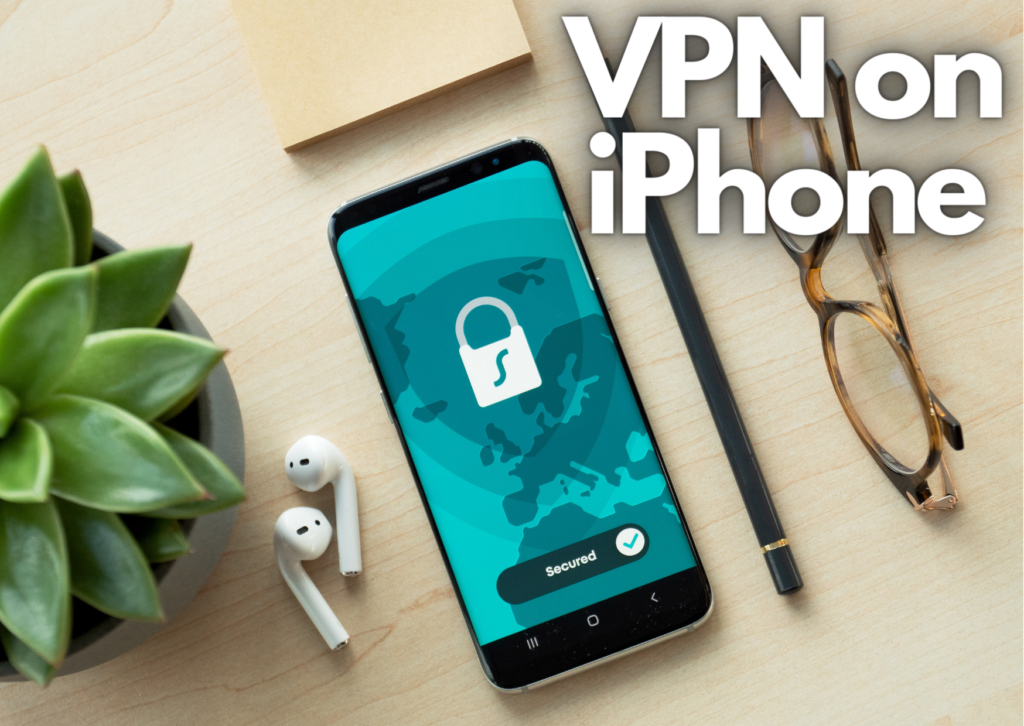
What is VPN?
VPN (or Virtual Private Network) is a technology that provides secure access to a network connection between two devices, usually between the Internet user and a server hosted on the Internet. In other words, VPN is a sort of tunnel between the two devices, with no one outside the tunnel having access to the information exchanged between the devices. This allows for the secure sending and receiving of data between these devices. With VPN, the traffic between the client and the server is encrypted.
How does VPN work on iPhone?
When you connect to the Internet, whether via Wi-Fi or a mobile connection, you access it from your current, actual location. Anyone who gains access to your connection information (for example, by obtaining an IP address) will know where the connection is coming from. The user is then vulnerable to tracking and hackers.
Turning on VPN on your iPhone changes your location and therefore your IP address. Your real IP is hidden, and VPN redirects the network through a remove server run by a VPN host. Therefore, the source of your data is the VPN server. This allows you to browser the Internet anonymously with an IP directing to a completely different location. Third parties are unable to read what sites you access and what data you send and receive online.
Why should you use VPN on iPhone?
Initially, VPNs were mainly used by companies to provide access to their own small, isolated network on the Internet. However, VPN has more benefits than just private access at work.
One of them is access to websites and services not available at your actual location. Changing your IP address to one from another country allows you to access sites that may only be available in that country. The most popular example here is Netflix, which offers different series and movies depending on the country.
Another example is the previously mentioned anonymity. With the help of VPN, you can hide your online activity. This is a particularly important benefit if you use a public Wi-Fi network, for example in restaurants or on a plane. Such networks are often vulnerable to hackers, so it is worth taking care of anonymity, securing your data and device against hacking.
How to get VPN on iPhone?
The easiest way to use VPN on the iPhone is to download and install dedicated apps that offer VPN services without manual configuration. Examples of apps include StrongVPN, ExpressVPN, TunnelBear, or NordVPN. Usually the best VPN services are paid, although free ones can also serve their basic purpose. Some of the paid apps also offer a free trial period for a limited time, so you can familiarise yourself with the VPN and its functionality before you buy. If your usage of VPN is limited to internet browsing, there are free browsers with built-in VPN, such as Opera or Aloha Browser.
How to manually configure VPN on iPhone?
If you have got access to the VPN provider to configure a network manually, you can set it up on your iPhone. It is possible to find some free VPN servers with their hostnames and addresses. However, these often come with some downsides, such as network overloads, poor security, limited data and speed, or even selling your personal data. Nevertheless, if you managed to get necessarry information required to set up VPN manually, here is how to do it:
- Go to the Settings app.
- Open the General settings.
- Scroll down to find VPN and tap it.
- Now press Add VPN Configuration.
- Choose the type of VPN – IKEv2, IPSec, L2TP, or PPTP.
- Fill in all the required information: description, server, account, password, and so on.
- After filling in everything, press Done in the top right corner.
- Make sure that the Status switcher is enabled in the main VPN settings.
Visit our Social Media