What Is eSIM?
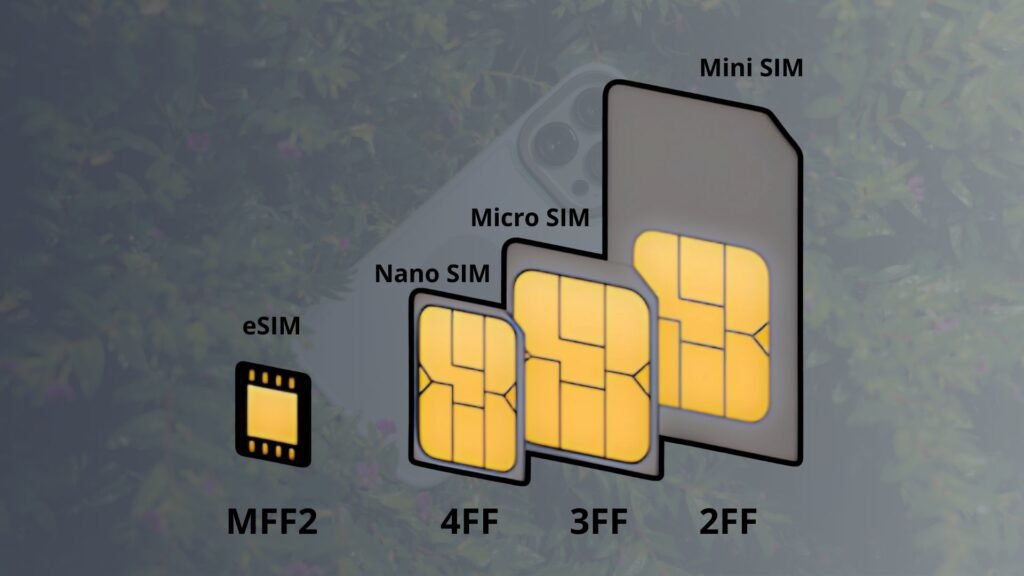
Understanding eSIM is essential for any iPhone user looking to simplify mobile connectivity. An eSIM, short for embedded SIM, is a digital version of the traditional plastic SIM card. Instead of inserting a card into your iPhone, the eSIM is built directly into the device and can be programmed remotely.

eSIM Explained for iPhone Users
Apple describes eSIM as a digital SIM embedded in your iPhone that enables activation of a cellular plan without using a physical nano-SIM. This digital SIM follows the GSMA global standard for remote SIM provisioning, meaning that mobile carriers can securely send SIM profiles directly to your device over the internet.
In short, eSIM explained: it’s a reprogrammable chip already installed in your iPhone that connects you to your mobile network – no physical SIM card required.
Key Benefits of eSIM in iPhones
eSIM technology offers clear advantages over traditional SIM cards, particularly in how iPhones handle multiple lines, roaming, and activation. Here’s a breakdown:
| Feature | Benefit for iPhone Users |
|---|---|
| No physical SIM needed | No need to insert, remove, or keep track of plastic SIM cards |
| Multiple plans on one phone | Store and switch between several plans on one device (up to 8 or more on supported models) |
| Dual SIM support | Use two lines at once — ideal for separating work and personal numbers |
| Easy travel setup | Add a local data plan while abroad without removing your home SIM |
| More secure | Cannot be physically stolen or swapped if the iPhone is lost |
This flexibility is built into iOS. With just a few taps in Settings > Cellular, you can activate, label, or switch between plans without contacting your carrier or handling hardware.
How Does eSIM Work on iPhones?
The eSIM chip inside your iPhone is called an eUICC (Embedded Universal Integrated Circuit Card). When you install a plan, your carrier pushes a profile over the internet, which your iPhone stores securely. This profile contains your SIM ID (ICCID), mobile credentials, and network settings.
To install a plan, you typically scan a QR code or use a carrier app. The process is immediate and can be done anywhere with a Wi-Fi connection. Once added, the eSIM functions just like a regular SIM. You can make calls, use mobile data, and send SMS – all managed digitally through iOS.
Supported iPhones and iOS Features
Apple has supported eSIM since the iPhone XS, XS Max, and XR, and every model released since includes this technology. Newer iPhones like the iPhone 14 and 15 (U.S. versions) no longer include physical SIM trays, relying exclusively on eSIM for mobile connectivity.
Additionally, iOS allows you to:
- Convert a physical SIM into an eSIM via Settings > Cellular > Convert to eSIM
- Add a second line without removing your current one
- Use Quick Transfer to move an eSIM between iPhones via Bluetooth
These features make the iPhone an ideal device for leveraging eSIM benefits fully.
Checking eSIM Compatibility on Your iPhone
Before you install a digital SIM, it’s important to check if your iPhone supports eSIM technology. Apple began supporting eSIM in iPhones starting in 2018, and most models since then include this feature. Here’s a step-by-step guide to verify eSIM compatibility directly from your device or with the help of an online tool.
Step 1: Use the Settings App to Identify eSIM Support
To begin, follow these instructions on your iPhone:
- Open Settings
- Tap General
- Select About
- Scroll to find entries labeled EID, Digital SIM, or eSIM
If you see an EID number or a section labeled “Digital SIM,” your iPhone includes the required embedded chip. This is the first sign your phone supports eSIM.
You can also navigate to Settings > Cellular (or Mobile Data) and check for one of the following options:
| Setting Found | What It Means |
|---|---|
| “Add Cellular Plan” | eSIM is supported and ready for use |
| “Add eSIM” or “Use QR Code” | Device can scan and activate eSIM profiles |
| “Convert to eSIM” | Allows you to convert your physical SIM to eSIM |
If any of these menu options are available, your iPhone is fully eSIM compatible.
Step 2: Confirm Your Model Is On Apple’s Supported List
Here’s a breakdown of iPhones that support eSIM:
| Model | eSIM Support |
| iPhone XS / XS Max / XR | Yes – First generation with eSIM |
| iPhone 11, 12, 13 series | Yes – eSIM + nano-SIM dual capability |
| iPhone SE (2020, 2022) | Yes – eSIM and physical SIM supported |
| iPhone 14, 15, 16 (U.S.) | eSIM-only, no physical SIM tray |
Note: iPhones sold in Mainland China may not support eSIM. Always check the region-specific specs.
Step 3: Use a Free IMEI-Based eSIM Checker
If you want a fast, accurate way to confirm eSIM compatibility, use the IMEI.info eSIM Compatibility Checker. Here’s how:
- On your iPhone, go to Settings > General > About
- Scroll to locate your IMEI number
- Visit IMEI.info’s eSIM Check tool
- Scroll down and enter your IMEI to verify compatibility
This tool gives an instant result, telling you whether your specific iPhone model supports eSIM activation. It’s especially helpful if you’re buying a used iPhone or are unsure about your region’s version.
Install and Activate eSIM
Once you’ve confirmed that your iPhone supports eSIM, you can begin the installation and activation process. The steps are simple, but the exact method may vary depending on your carrier. Below are clear instructions to help you set up your eSIM profile correctly.
Step 1: Get Your eSIM Activation Details
To activate an eSIM on your iPhone, you’ll need one of the following from your carrier:
| eSIM Activation Type | Details Provided by Carrier |
|---|---|
| QR Code | A printed or emailed code to scan with your iPhone camera |
| Activation Code / Manual Entry | Numeric code to enter manually via Settings |
| Carrier App / Website | Some carriers offer direct activation through an official app or link |
| Quick Transfer | Transfers eSIM data wirelessly from an old iPhone to your new iPhone |
Make sure your iPhone is connected to Wi-Fi before proceeding.
Step 2: Install the eSIM
Follow the instructions below based on the method your carrier uses:
Option A: Scan a QR Code
- Open Settings > Cellular (or Mobile Data).
- Tap Add Cellular Plan.
- Scan the QR code your carrier gave you using the iPhone’s camera.
- Wait for your iPhone to process and download the carrier’s eSIM profile.
Option B: Manual Entry
- Go to Settings > Cellular > Add Cellular Plan.
- Tap Enter Details Manually.
- Input the SM-DP+ address and activation code from your carrier.
- Follow the on-screen prompts to complete the setup.
Option C: Use Carrier App or Link
- Download your carrier’s official app from the App Store.
- Launch the app and follow the instructions for eSIM activation.
- The app will configure the eSIM automatically without needing a QR code.
Option D: Quick Transfer from Another iPhone
- Place your old and new iPhones near each other.
- On the new iPhone, go to Settings > Cellular > Add Cellular Plan.
- Follow the prompt to transfer the eSIM from the old iPhone.
- Approve the transfer on the old device and wait for the eSIM to install.
Step 3: Label and Configure Your Line
Once the eSIM is installed, you can label it for easy identification:
- Choose from options like “Primary”, “Secondary”, “Business”, or create a custom label.
- Decide which line to use for voice, messages, and data.
- If you have multiple eSIMs, you can switch between them at any time.
Step 4: Confirm Activation
After installation:
- Your iPhone will display signal bars for the new line.
- Go to Settings > Cellular to confirm the plan is active.
- If needed, restart your iPhone to apply final changes.
In Conclusion
Understanding what is eSIM and how eSIM works is essential for iPhone users who like traveling and navigating modern mobile connectivity. Apple’s integration of eSIM technology streamlines setup, enhances security, and prepares users for a future without physical SIM cards. Whether you’re using dual SIM functionality or switching carriers digitally, eSIM makes the process faster and more flexible.